
This post is about a new hobby of mine - bread making, sourdough bread making to be more precise.
I have recently been offered some very good sourdough and I had to try making it myself.
For me personally, sourdough is the king and queen of all breads.
Once you've had (good) sourdough bread you can't go back :-). The sour flavor is just amazing and it made all other breads I have had seem bland.
If you have had such a moment, you will learn from my experience the simplest way to make sourdough bread and also to work with sourdough bread. Simple is this context means that you will learn and understand the steps it takes to make your own simple sourdough bread.
What is sourdough bread?
In simple terms, bread made without any yeast. Actually made from naturally grown yeast (called sourdough starter). It is different in taste from "regular" bread (bread made with yeast) in that during the natural fermentation of the flour lactic acid is developed, which gives the bread a sour (in a good way sour) taste.
I have also written a post on Making & Maintaining Your Own Sourdough Starter. That is actually the very first step, but this article assumes you have your own 100% hydration sourdough starter (which you can also buy if you want to skip this step).
My Method
Just for the record making sourdough bread is much more complex and timely compared to making "regular" bread using yeast, but the flavor makes it worth while.
That is why I decided to start making my own sourdough bread. Started researching the subject (exclusively on google) and found this very good blog called "Codru de Paine" (it is in Romanian by a Romanian baker, but you can have it translated using Google Translate).
The current post is an adaptation of a recipe from "Codru de Paine" called "Simple Sourdough Bread - the 1:2:3 Method". It is an adaptation because while some of the steps are similar, I will show the technique and principles behind these steps (so that you can adjust the process to your conditions - water, flour, mistakes and imperfections), making it basically better
The trick about online resources that I found was that they were written by professional bakers and the phrasing was complicated (with professional baking terms) and the ingredients were complicated. What I propose to you is something simple with ingredients you find in every supermarket.
What you will need:
- 100% hydration sourdough starter - 90 grams (approx. 3 oz)
- spring water - twice the weight of the sourdough starter - 180 grams (or 6 oz)
- regular flour (000 flour or, if you can get your hands on it 65o flour) - three times the weight of the sourdough starter - 270 grams (or 9 oz)
- salt - to taste
- dough spatula - you can find it in any store - online or brick
- spatula - preferably silicone
- kitchen scales - this is a must, for in order for the bread to succeed you sorta need to follow the weights
- pan for proofing - I use rectangular
- cast iron skillet or baking stone - I use a skillet
- oil
- extra flour (regular obviously)
Here is my process in brief:
- feed the starter - 8 hours
- autolyse (you will see below what this means) - 1 hour
- knead the dough and mix in the salt - 30-40 minutes
- 1st rise - 2 1/2 hours (with stretch & fold every 30-50 minutes)
- shape the dough - 5 minutes
- 2nd rise / proofing / final rise before baking in the refrigerator - 8-10 hours
- bake the bread - 40 minutes
1. Feed the starter
Feed the starter - I always use 90 grams / 3 oz of sourdough starter.
Put the starter in a transparent container, then add:
Put the starter in a transparent container, then add:
- 90 grams / 3 oz (or same weight as the starter) of water - after which I mix really well
- 90 grams / 3 oz (or same weight as the starter) of regular white flour - and mix very well again. As a side note you can make this half regular flour half rye flour. Rye
Using a marker mark the current height.
In 8 hours, if the starter is strong it should double-triple in size. There will be more details an article coming soon.
 |
| This is how the freshly fed starter will look like |
2. Autolyse
This stage of the process is about creating strings of gluten. Strings of gluten give sourdough its wonderful texture.You mix the following ingredients in a bowl:
- sourdough starter - 90 grams (approx. 3 oz)
- spring water (NEVER TAP WATER) - twice the weight of the sourdough starter - 180 grams (or 6 oz)
- regular flour - three times the weight of the sourdough starter - 270 grams (or 9 oz)
- NO SALT AT THIS POINT
This is not kneading - you just mix the ingredients until they are all incorporated.
If the mixture is too liquid/watery and sticky, add a teaspoon of flour at a time while mixing, JUST until the mixture is not sticky anymore (if you touch it with a finger nothing sticks to it). Do not add flour past this point as the bread will become very dense.
Form the dough into a ball shape with a spatula.
Let it rest at room temperature for 1 hour. Some online resources say 30-40 minutes, but I think an hour is ideal. The closer you get to 1 hour the better the gluten gets activated, the more strings of gluten form.
Strings of gluten make the dough easier to work with in the next stages of the process. If they are well formed the dough will be stretchy and a little bit sticky, if not, it will just be sticky.
 |
| This is the dough texture before the autolyse |
3. Kneading the dough
Lightly sprinkle some flour on the surface you will be using to knead.
Wet your hand and also the dough spatula.
Get the dough ball on the counter.
Add the salt - I usually add half a tea spoon for the amounts above.
...and start kneading:
TIP: Worth mentioning that I have tried mixing with an electric mixer and it kinda ruined the gluten (or at least that is the impression I got). So I stopped using a mixer for this stage.
Wet your hand and also the dough spatula.
Get the dough ball on the counter.
Add the salt - I usually add half a tea spoon for the amounts above.
...and start kneading:
- push and spread the dough with the palm of you hand and then bundle it back with the fimgers, over and over again
- Every once in a while, using the dough spatula, scrape everything together in a ball.
- Knead for 10 minutes. Let rest for another 5 minutes.
- Repeat 1-2 more times, until the dough is very elastic and does not stick to the kneading surface anymore.
- Form the dough into a ball
The video below (from the YouTube channel of the Hobbs House Bakery in Bristol, UK) shows the technique in more detail.
TIP: Worth mentioning that I have tried mixing with an electric mixer and it kinda ruined the gluten (or at least that is the impression I got). So I stopped using a mixer for this stage.
4. First rise
Place the ball of kneaded dough into an oiled bowl.
Every 50 minutes perform a stretch and fold:
- take out the dough from the bowl and place it on the counter lightly sprinkled with white flour
- spread it into a square
- fold the sides (divide into 3 and fold the exterior sides onto the interior)
- repeat vertically
As a side note, you can perform the stretch and fold at smaller intervals, but the bubbles will be smaller. Why? Elementary my dear Watson: the purpose of stretch and fold si to develop the gluten strings. When you stretch the bread the gluten strings strengthen. The stronger they are the smaller the bubbles, the more difficult it makes for the bubbles to expand.
So, if you want big ass bubbles in your bread only do a stretch and fold every 50 minutes. If you, on the other hand, want more bubbles but smaller in size perform the stretch and fold at 20 minute intervals.
The video below best illustrates the technique.
So, if you want big ass bubbles in your bread only do a stretch and fold every 50 minutes. If you, on the other hand, want more bubbles but smaller in size perform the stretch and fold at 20 minute intervals.
The video below best illustrates the technique.
5. Shape the dough
For this stage I use a rectangular baking pan as a banneton (a banneton, in case you are not familiar with the term, is a wicker basket usually used for rising/proofing the dough).
My favorite bread shape is the batard/torpedo loaf, mainly because it is easier to cut and also easier to bake (bakes more evenly).
Shaping the dough into a batard is very very tricky. Since an image is worth a thousand words, I will let you watch the video below (also from the YouTube channel of the Hobbs House Bakery in Bristol, UK), which shows the technique in more detail.
- Stretch and fold once, to get a ball 3/4 of the size of the banneton
- Stretch the dough into a rectangle and roll it into a batard loaf as shown in the video
- Sprinkle generously the banneton with white flour (so that the dough does not stick to it)
- Place the batard into the banneton with the slit up and sprinkle again flour on it and on the side of the banneton
6. 2nd rise / proofing / final rise before baking
Place the dough (shape as you desire) into the banneton and banneton into the fridge.
Let in there for 8-10 hours.
The purpose of this stage is very important - it allows for the dough to ferment slowly and better build the taste.
The golden rule in this case is to make sure to that when you push the dough with your finger it is elastic.
7. Baking
About 30-40 minutes before taking out the dough from the fridge, turn on the oven at 250 C / 482 F.
At the same time, place a baking stone (I use a cast iron pot) and a pan with water into the oven.
After the oven is hot, take out the dough (reshape it - roll it in flour) and then place it on the hot baking stone (or cast iron pot).
"Score" the bread - using a very sharp and thin knife. Make as may cuts as you would like into the bread. The more the better.
Place, the bread into the oven for 40 minutes.
Turn the oven down to 220 C/420 F.
After 15-20 minutes, take out the pan with water.
After the bread is done take it out of the oven and let it rest for about 2 hours before attempting to cut it.
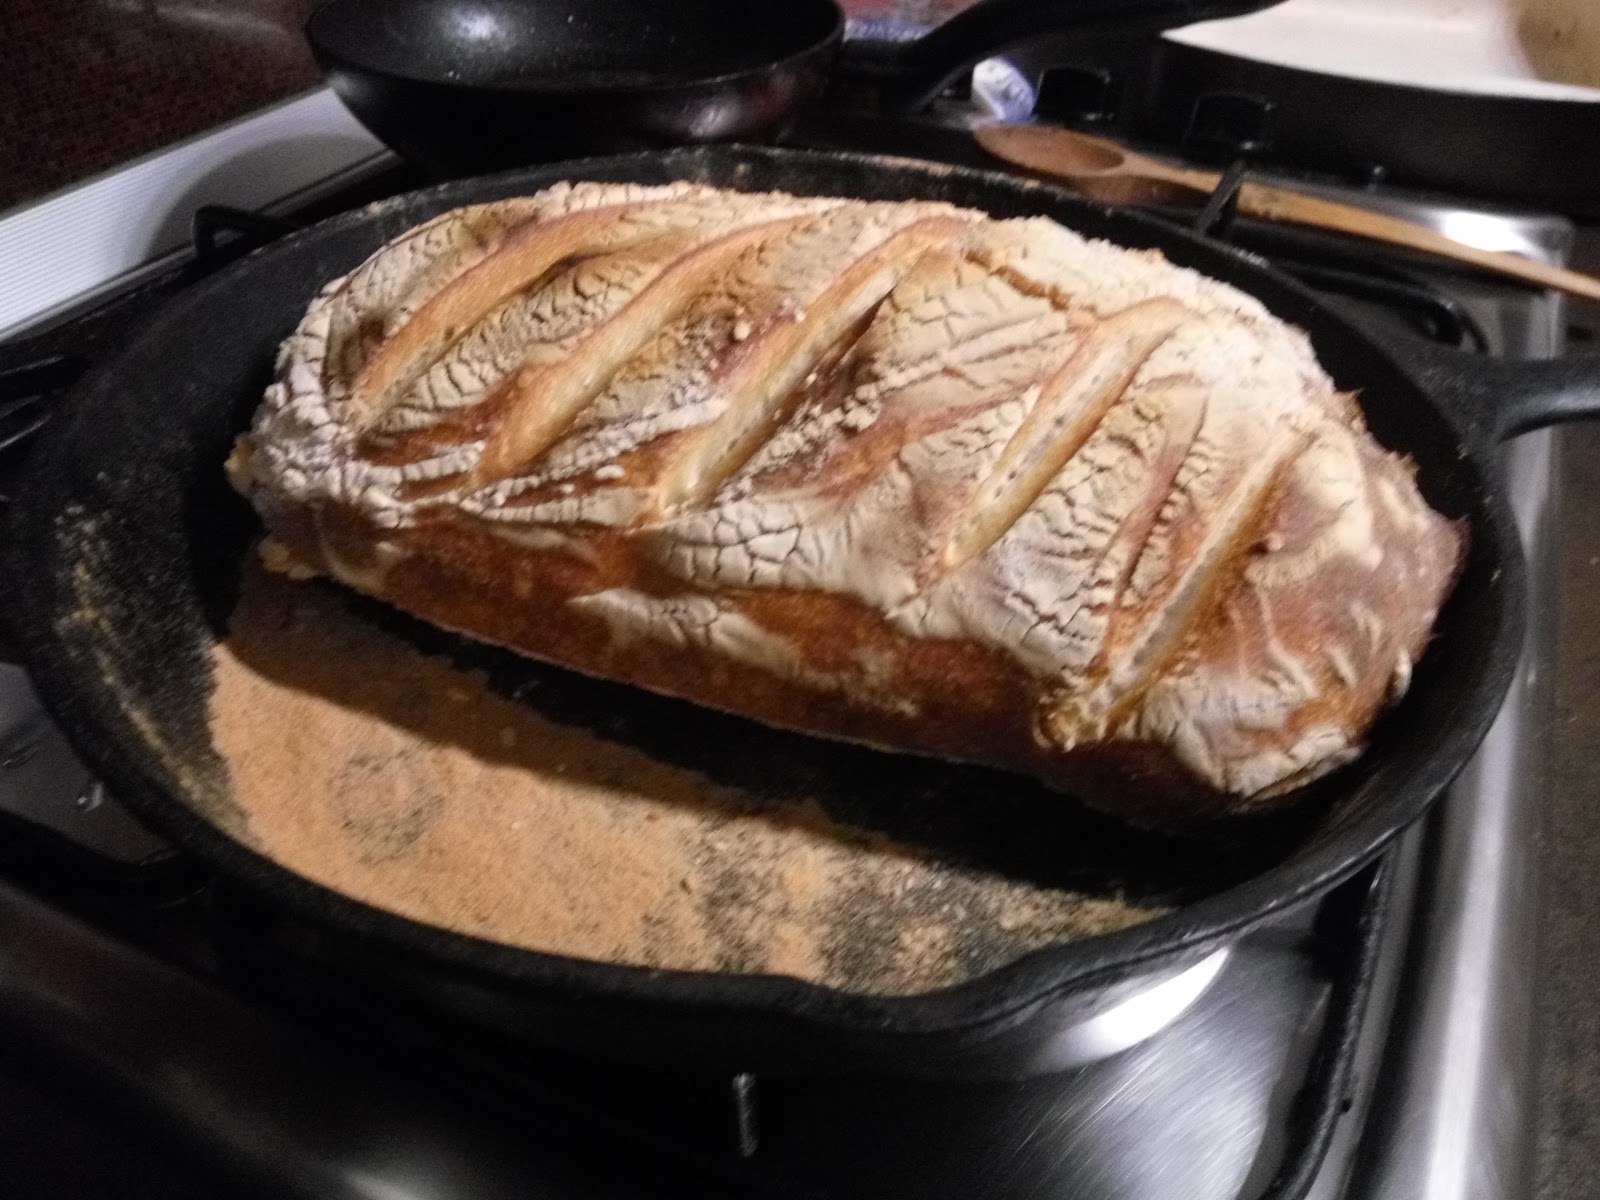
... and ta-da
This is the result ... looks delicious tastes, delicious


PS:
Looking forward to your feedback about this article, so feel free to comment